Drag to rotate · Wheel / two fingers to zoom & pan
This device cannot show the 3D view. Follow the step pictures and text below instead.
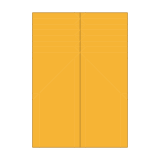
1. Fold in half lengthwise and unfold
Colored side up, tall. Fold in half lengthwise and unfold.
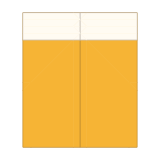
2. Fold the top edge down 5 cm
Fold the top edge down by 5 cm (about one sixth of the height).
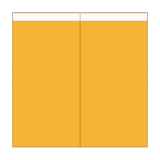
3. Roll the band down twice more
Fold the band down onto its own edge, then once more, to make a thick leading edge.
4. Turn over
Turn the paper over.
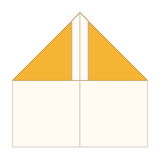
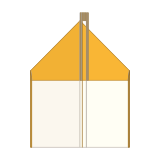
5. Fold the top corners to the center
Fold the two top corners to the center line to make a pointed nose.
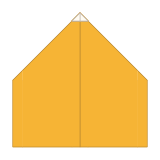
6. Turn back over
Turn the paper back over.
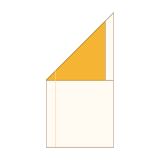
7. Fold in half
Fold the right half over onto the left half.

8. Fold the wings
Fold the front wing along the edge of the thick band. Fold the back wing behind along the same line. The body stays very thin.
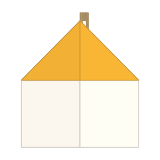
9. Open the wings
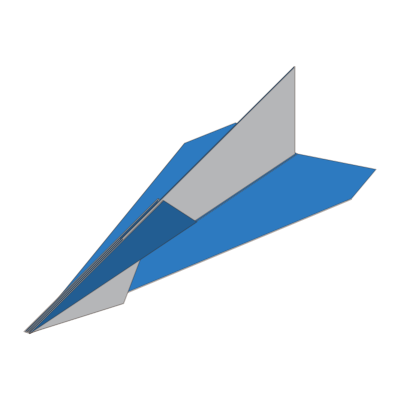
Open the wings almost level, with a shallow upward V. Ready to fly!
10. Fold up the winglets
Fold 1.5 cm of each wingtip straight up. Make both the same and you are done!
1. Fold in half lengthwise and unfold
Colored side up, tall. Fold in half lengthwise and unfold.
Tip:
Finished!
Well done! Watch it again or try another model.
Try the science
- Center of gravity: the rolled band moves it forward. Clip a paper clip at the front, middle or back and compare the flights.
- Wing angle: a shallow upward V (about 5–10°) helps the glider level itself when it tilts.
- Symmetry: both wings and winglets must match, or it will curve to one side.
- Fair test: throw three times from the same spot with the same force and average the distances.
- Safety: never throw toward people or animals, and check the flight path is clear.
 Paper airplane (dart)